
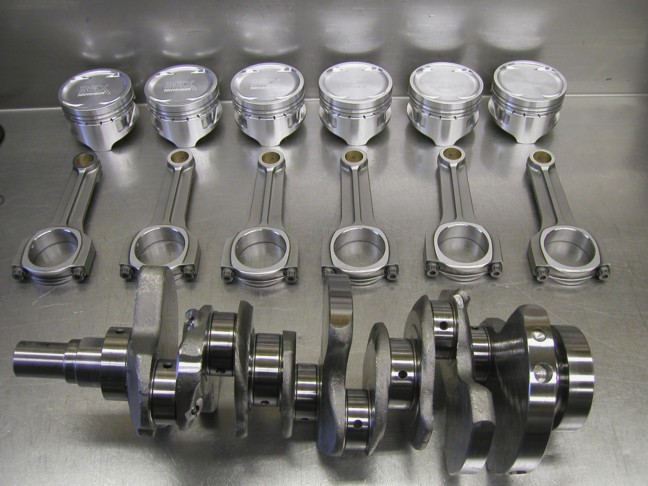
Connecting Rod Reconditioning
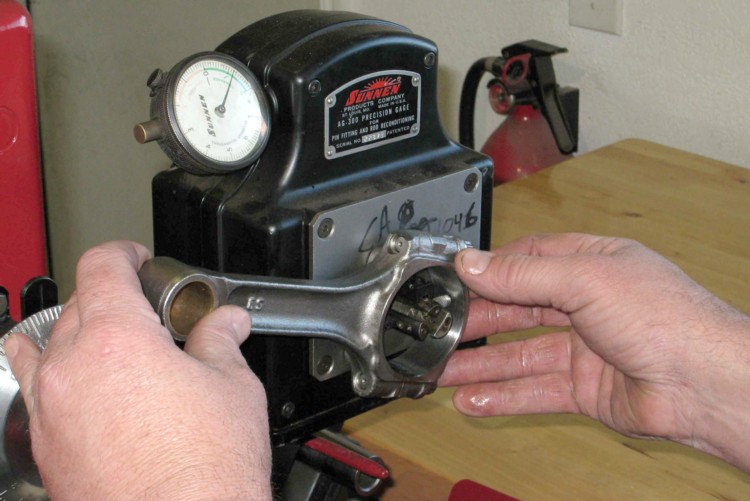
- Check the parallelism, alignment and the roundness of the connecting rods.
- Replace or recondition the unaligned or bent connecting rods.
- Replace all the connecting rod bearings.
- Inspect rod bolts for stretching and thread damage. If in doubt, replace the rod bolts. This should be done before the connecting rod is resized because some bolts are pressed into the rod and will cause distortion that will be corrected during the resizing process.
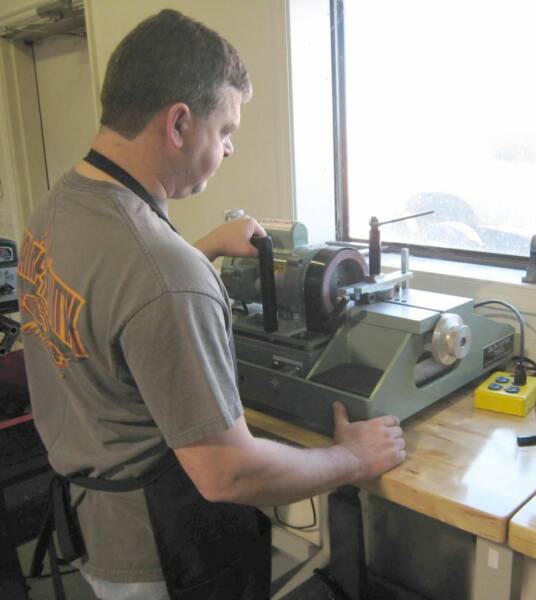
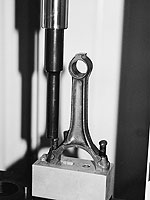
The connecting rod of an engine is one of the most abused and least respected parts. The load and stress it experiences are extreme. For example, the connecting rod must support four to five tons of pressure during combustion. Also, the rod is required to reverse its travel many times a second. As an example, a connecting rod in the average engine running at 3,000 rpm is reversed 100 times in one second. Much of this load is applied to the bolts that hold the rod to the journal. For this reason, new high-quality connecting rod bolts should be installed during any performace-based rebuild. The first step is to press out the old bolts, as seen in this photo.
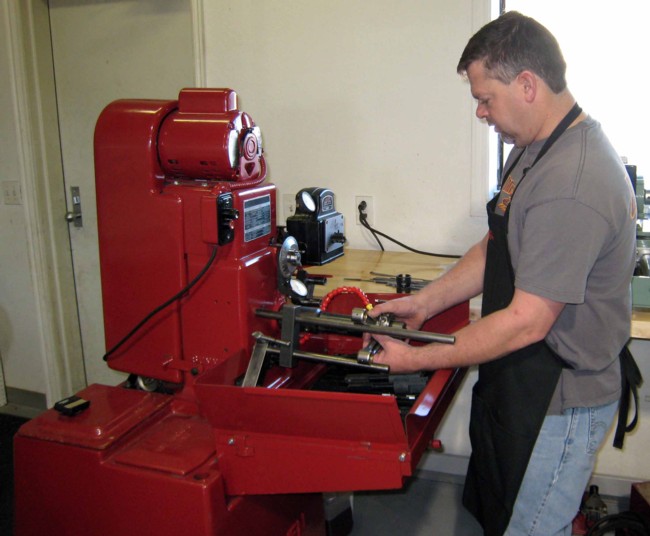
First cut the Cap then resize on the Sunnen Hone below. The big (crankshaft) end of the rod is then measured with a special dial bore gauge that is attached to the rod hone. A connecting rod that originally used press-fit wrist pins can be honed and equipped with a bronze bushing to accept full-floating pins, which are common in performance aftermarket racing pistons. The rod hone is used to size the small end of the rod to accept the bushing. Floating pins reduce both internal engine friction and reduce the natural twisting and bending loads experienced during combustion.
Why Choose ATP Engines?
With over 25 years of experience in engine remanufacturing, ATP Engines combines expertise with state-of-the-art equipment to deliver top-notch crankshaft grinding services. Our commitment to quality ensures that your engine components perform at their best